Beginner guide · Projects and tasks
How to Set Up ClickUp: Organize Your Team's Work in One Place
ClickUp keeps your tasks, docs and deadlines together. Here's how its pieces fit and how to set up your first project without getting lost.
Sticky notes, group texts and spreadsheets can only take a team so far. Soon, someone asks, "Who's doing this?" and nobody is sure.
ClickUp gives every task a home. You can see who's doing what, when it's due and what's done. Your notes and files sit right next to the work.
What you can do with ClickUp
- Track tasks. Give every job a name, an owner and a due date.
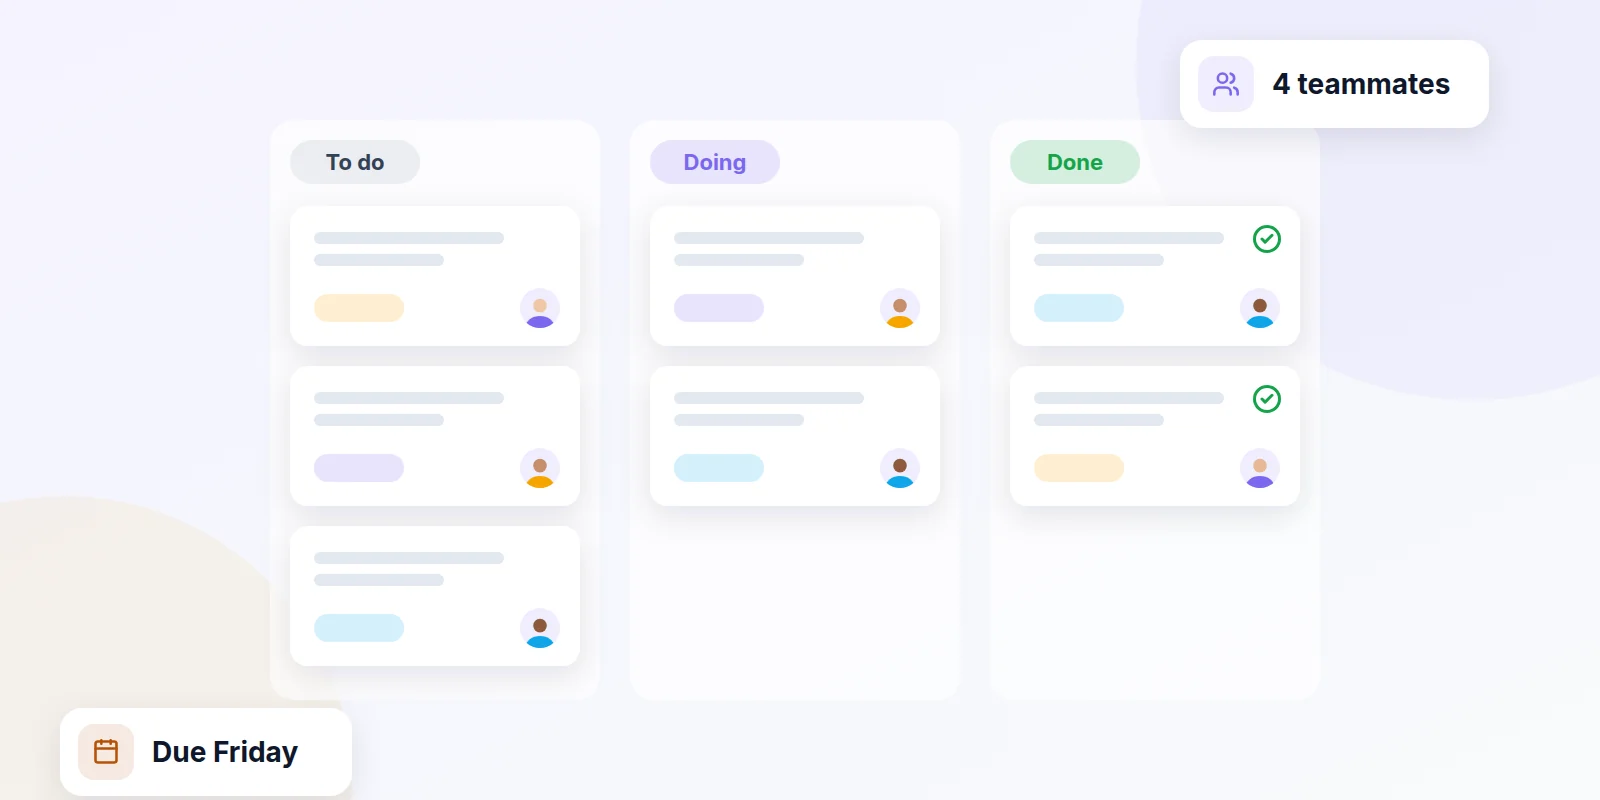
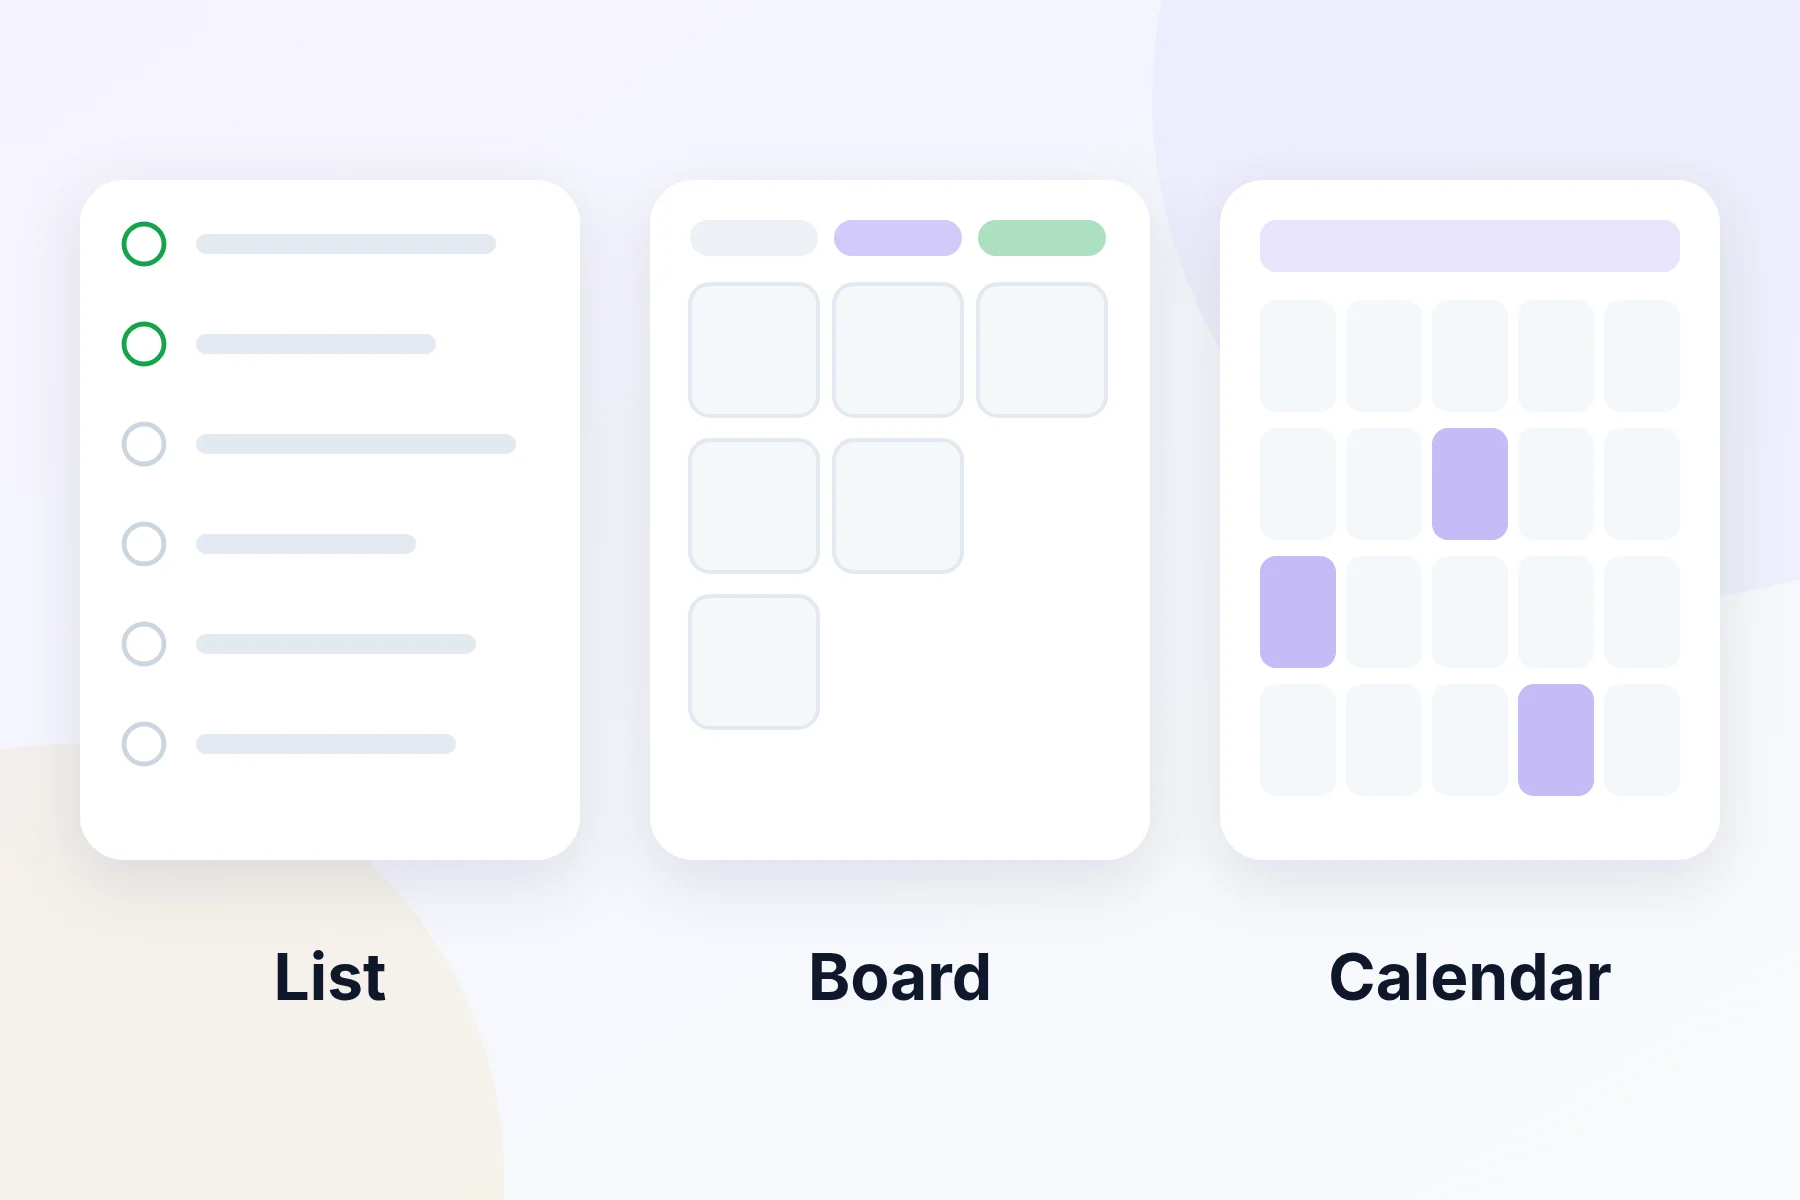
- See work your way. Look at the same tasks as a list, a board or a calendar.
- Keep notes with the work. Write how-to steps and meeting notes right inside ClickUp.
- Skip busywork. Set simple rules, like "tell me when a task is done."
Learn how ClickUp is organized
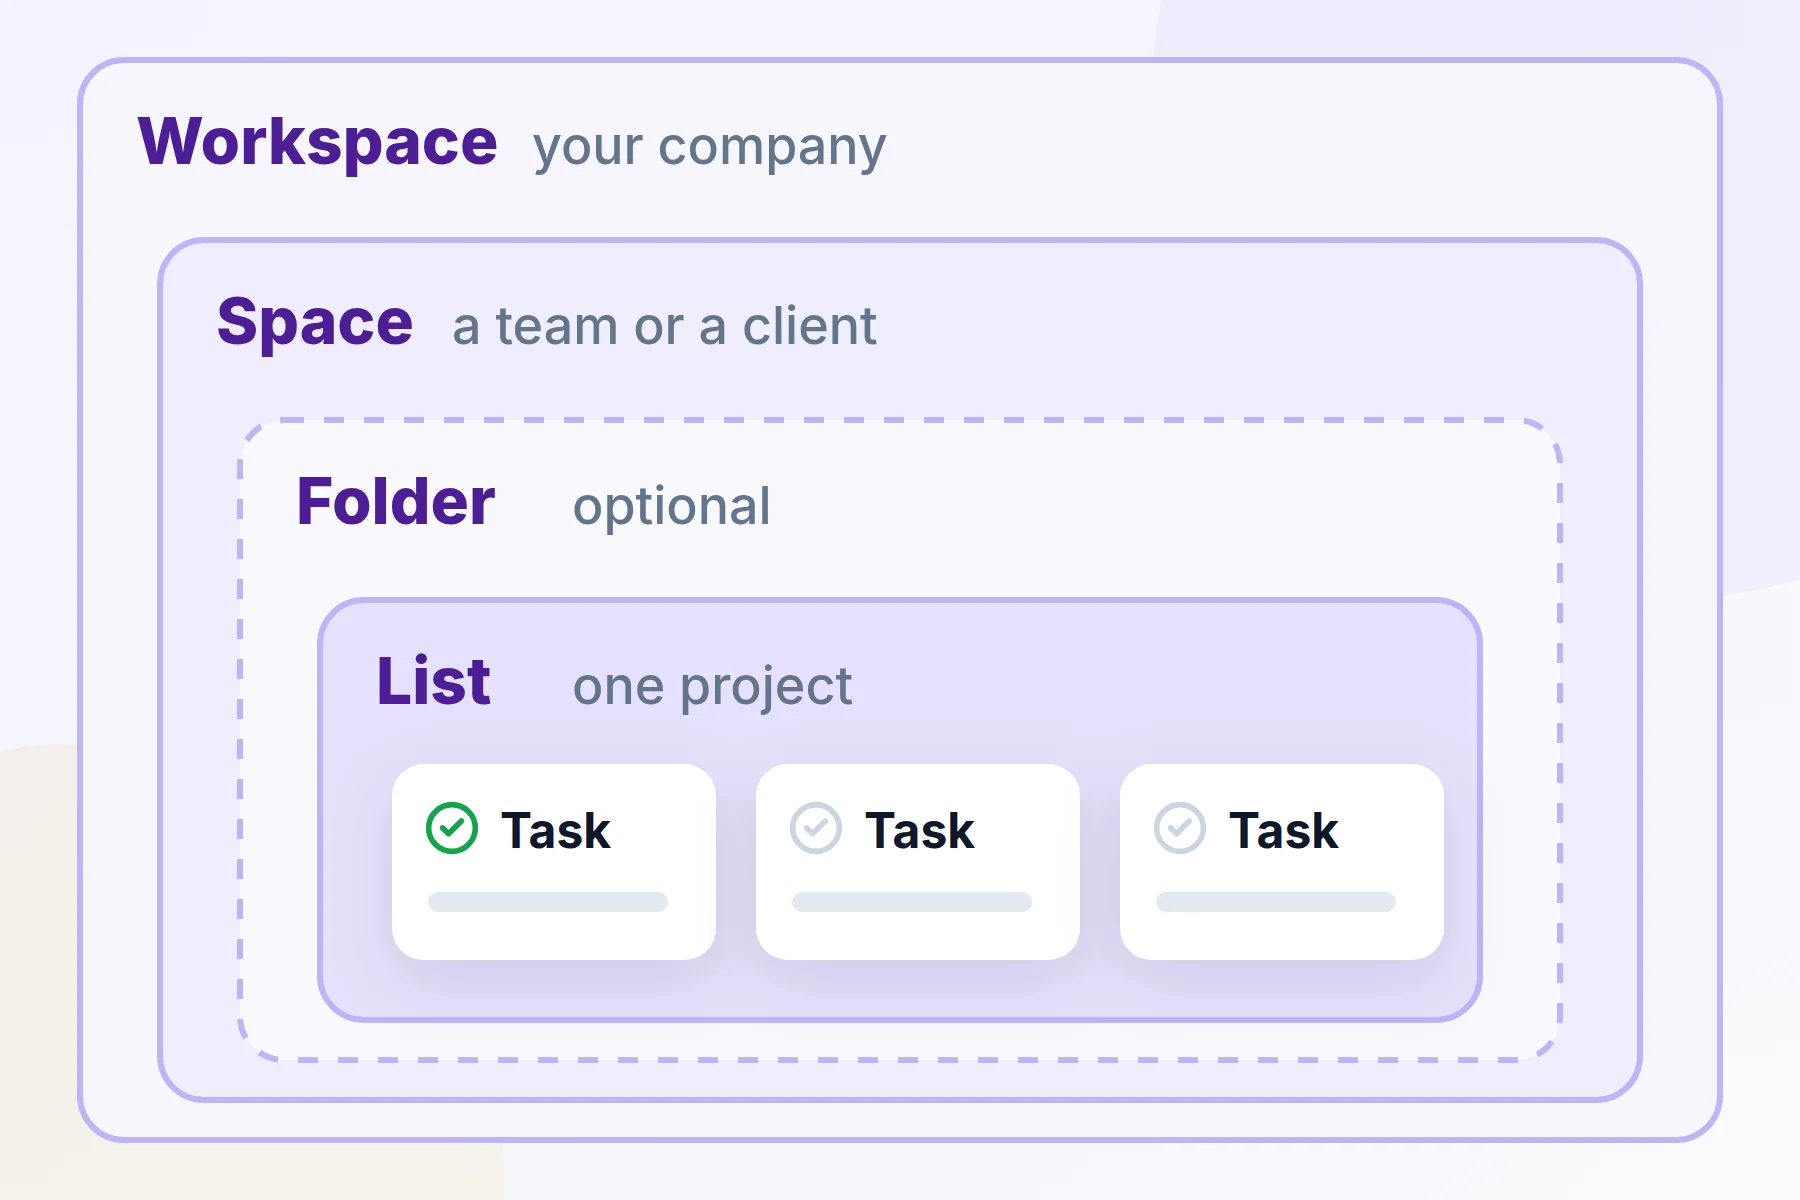
This is the most important part. ClickUp uses folders inside folders, a bit like your computer. Once you get it, everything else is easy.
- Workspace: Your whole company. Most businesses need just one.
- Space: One team, one client or one big area of work, like "Marketing."
- Folder: Groups a few lists together. Folders are optional. You can skip them.
- List: One project, like "Spring launch." Every task lives in a list.
- Task: One thing to do, like "Write the welcome email."
Set up ClickUp step by step
- Create your account. Open ClickUp with the button at the end of this guide. Sign up and make a password. This creates your Workspace on the free plan.
- Check your email. Click the link ClickUp sends you. Then answer the short setup questions.
- Make a Space. On your Home screen, click the plus icon, then Space. Give it a name, like your team or client. Click Continue, pick the settings you want, then click Create Space.
- Make a List. Point at your new Space and click its plus icon. Choose List, name it after a project, and click Create.
- Add your first tasks. Click + Add Task. Type what needs doing and click Save. Add a few more.
- Give each task an owner and a date. Open a task. Pick who's doing it and when it's due.
Next steps once you're set up
Invite your team
Click your Workspace picture in the top left corner. Choose People. Type their email, pick a role and click Send invite.
- Member: A full teammate who works in your Workspace. Members are paid seats on paid plans.
- Guest: Sees only what you share with them. Great for clients.
Switch to a board or calendar
At the top of your list, click + View. Choose Board to see tasks as cards you can drag between columns. Choose Calendar to see tasks by due date.
Write a doc
Click Docs in the left menu, then New Doc. Use docs for how-to steps, meeting notes or client info.
Set up a simple automation
Click the robot icon in the top right corner, then Create Automation. Pick a trigger, like "When a task is done." Then pick an action, like "Tell the project lead." Click Create.
Start from a template
Don't want to build from scratch? Open the Template Center and pick a ready-made setup. Templates work on every plan, even the free one.
Mistakes to avoid
Common questions
Is the free plan enough for a small team?
It can be, for a while. You get unlimited tasks and members. But the free plan only gives you 60 MB of file storage in total, and some features can only be used a few times. ClickUp says the free plan is mainly for personal use.
Can my clients see their tasks?
Yes. Invite them as Guests. They only see what you share with them.
Is there a phone app?
Yes. ClickUp has free apps for iPhone and Android. A few features, like whiteboards, aren't in the app yet.
Can I bring my work over from another tool?
Yes. ClickUp can import from tools like Trello, Asana, Monday and Notion. It can also bring in spreadsheets.
What does ClickUp cost?
When we wrote this, ClickUp was changing its plan names, so the plans you see may differ. Paid plans started around $7 to $8 per person a month, paid yearly. Check ClickUp's pricing page for today's plans.
Ready to get organized?
Start on the free plan. Set up one Space and one List this week, and invite one teammate to try it with you.